How to Restore Walls and Ceilings After Smoke Damage | Leak Proof Restoration
How to Restore Walls and Ceilings After Smoke Damage
When a fire occurs, even a small one, the smoke it leaves behind can cause long-term damage if not addressed quickly. Smoke residue can stain walls, discolor ceilings, and leave a persistent odor that’s hard to remove. This guide will walk you through the steps of restoring your walls and ceilings after smoke damage so you can bring your home back to a clean and livable condition.
Step 1: Assess the Type and Extent of Smoke Damage
Before starting any cleaning, identify the type of smoke that has affected your home. Different types of fires produce different residues, and each requires a specific cleaning method.
Wet smoke: Produced by slow, smoldering fires that burn at lower temperatures. It leaves a sticky, smeary residue that can be difficult to remove.
Dry smoke: Created by fast-burning fires at high temperatures, leaving a fine, powdery residue that’s easier to clean but more widespread.
Protein residue: Comes from burned food and kitchen fires. It leaves a strong odor and light, greasy film that may be invisible at first.
Fuel or oil soot: Common in garage fires or furnace puff backs. This residue is heavy, oily, and requires professional-grade solvents to clean.
Knowing which type you’re dealing with helps you select the right cleaning products and methods for your walls and ceilings.
Step 2: Protect Yourself and Your Home
Smoke particles can be harmful when inhaled, especially during cleanup. Always wear protective gear such as gloves, a respirator mask, and goggles. Open all windows and doors to ventilate the area before cleaning. Cover nearby furniture and flooring with plastic sheets or drop cloths to prevent further contamination.
Turn off your HVAC system during cleaning to stop smoke particles from circulating through your home’s ductwork.
Step 3: Remove Loose Soot and Debris
Start by removing dry soot from the surface before applying any cleaning solution. Use a dry cleaning sponge (also called a chemical sponge) to gently wipe soot off walls and ceilings. Avoid using water at this stage since it can smear the soot and make stains worse.
Work from the top of the wall downward and clean small sections at a time. After each pass, rotate the sponge to a clean side. Once the sponge becomes dark, replace it with a new one.
If you’re dealing with a large area, you can also use a vacuum cleaner with a brush attachment. Keep the nozzle just above the surface to avoid pushing soot deeper into the material.
Step 4: Wash Surfaces With the Right Cleaning Solution
Once the loose soot is removed, you can begin deep cleaning. Use a solution of warm water and mild detergent or specialized smoke removal cleaner. For oil-based or sticky residue, trisodium phosphate (TSP) is one of the most effective cleaning agents. Mix one tablespoon of TSP with a gallon of warm water for a strong cleaning solution.
Using a soft sponge, wash small sections of the wall, working from bottom to top to prevent streaking. Rinse the sponge frequently and change your cleaning water often to avoid spreading the soot.
After washing, rinse the wall with clean water and a separate sponge. Pat the area dry with a clean towel or allow it to air dry completely before moving to the next step.
Step 5: Eliminate Smoke Odor
Even after visible soot is gone, smoke odor can linger for weeks. To neutralize the smell, start by setting up air purifiers and fans to increase ventilation. Activated charcoal, baking soda, and vinegar bowls placed around the room can help absorb odors naturally.
For deeper odor removal, you may need to use a thermal fogger or ozone generator. Thermal fogging releases a mist that penetrates porous surfaces and neutralizes odor molecules at their source. Ozone generators work similarly by oxidizing smoke particles in the air and on surfaces. These treatments are best performed by professional restoration specialists to ensure safety and effectiveness.
Step 6: Treat Stains and Discoloration
Even after cleaning, you may still notice yellow or brown stains caused by smoke. These are particularly common on ceilings and near air vents. To cover these stains, apply a stain-blocking primer before repainting.
Use an oil-based or shellac-based primer designed for smoke and water damage. Once the primer dries completely, you can repaint the walls with a latex-based interior paint. Applying two coats ensures a uniform finish and long-term protection against future stains.
Step 7: Inspect and Replace Damaged Materials
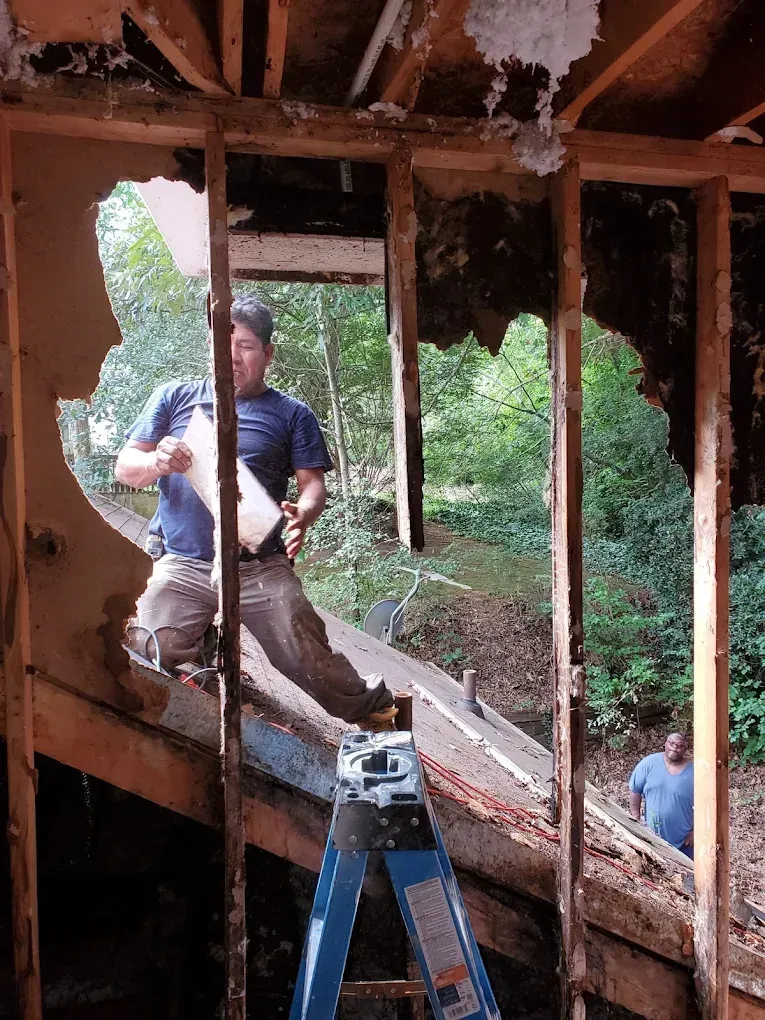
In severe cases, smoke damage can penetrate beyond the surface of walls and ceilings. If drywall, insulation, or ceiling tiles smell like smoke even after cleaning, it’s often best to replace them. Smoke residues trapped inside these materials can continue releasing odors over time.
Remove damaged sections and replace them with new materials. For drywall, cut out areas at least 12 inches beyond visible damage to ensure no hidden soot remains. Always verify that the area behind the wall or ceiling is completely dry before sealing it back up.
Step 8: Clean Adjacent Areas and Fixtures
Smoke spreads far beyond the visible burn area, so it’s important to clean adjoining surfaces as well. Wipe down baseboards, light fixtures, vents, and ceiling fans with the same cleaning solution used for walls. Wash curtains, blinds, and upholstered furniture, or have them professionally cleaned if the odor persists.
Don’t forget to replace or thoroughly clean air filters and HVAC ducts. Soot buildup inside the system can recontaminate freshly cleaned areas and prolong the smell of smoke.
Step 9: Repaint and Restore
After cleaning and treating the affected surfaces, you can begin repainting and restoring your walls and ceilings. Choose a high-quality paint with odor-blocking properties to ensure that smoke smell doesn’t return. A satin or semi-gloss finish is recommended since it’s easier to clean and more resistant to future damage.
If you’re restoring decorative ceilings or textured walls, use a roller designed for textured surfaces or a paint sprayer for even coverage. Be patient and allow each coat to dry thoroughly before applying the next.
Step 10: Prevent Future Smoke Damage
Once your home is restored, take steps to minimize the risk of smoke damage in the future. Install smoke detectors in every major room and test them monthly. Avoid smoking indoors, and if you use candles or a fireplace, ensure proper ventilation.
Keep a fire extinguisher in accessible areas like the kitchen, garage, and living room. Regularly inspect appliances and electrical wiring to prevent accidental fires.
If you ever experience smoke damage again, acting quickly will make the restoration process much easier and less costly.
Conclusion
Restoring walls and ceilings after smoke damage can be a time-consuming process, but the results are worth it. By identifying the type of smoke, cleaning correctly, and using the right products, you can eliminate stains and odors completely. If the damage is severe or the smell persists despite cleaning efforts, professional restoration companies like Leak Proof Restoration have the tools, expertise, and equipment to bring your home back to pre-damage condition safely and efficiently.