How to Detect and Repair Hidden Wall Water Damage | Leak Proof Restoration
How to Detect and Repair Hidden Wall Water Damage Before It Becomes a Disaster
Water damage behind walls is one of the most dangerous and expensive issues a homeowner can face. It often starts small — maybe a pinhole pipe leak, a bit of condensation, or a slow roof drip — and goes unnoticed until the damage spreads. By the time you see visible stains or mold, there’s often significant structural or health-related damage already in progress.
In this guide,Leak Proof Restorationexplains how to detect hidden wall water damage early, what signs to look for, how to safely dry it out, and when to call a professional for restoration.
Why Hidden Wall Water Damage Is So Dangerous
Unlike a burst pipe or roof leak that you can see immediately,hidden water damagehappens quietly — inside walls, under flooring, or behind cabinets. The trapped moisture can cause:
Structural Weakening:Wood framing absorbs moisture and softens, leading to warping or collapse.
Mold Growth:Within 24–48 hours, mold spores begin to grow in humid, enclosed areas.
Electrical Hazards:Water intrusion near wiring can short circuits or spark fires.
Odor and Air Quality Issues:Damp drywall and insulation can harbor bacteria, mildew, and allergens.
Catching it early can save thousands of dollars in repairs and protect your family’s health.
Step 1: How to Identify Hidden Water Damage
You don’t always need to see running water to know there’s a problem. Subtle signs can indicate moisture trapped inside your walls.
1. Unexplained Musty Odors
If you notice a damp, earthy smell in a specific area of your home, it’s likely from moisture inside walls or insulation.
2. Peeling or Bubbling Paint
Paint or wallpaper bubbling means moisture is pushing through the drywall and loosening adhesives.
3. Stains or Discoloration
Brown, yellow, or grayish spots are early warnings that water has seeped behind the surface.
4. Warped Walls or Baseboards
Drywall may begin to bulge or crumble, and trim can swell or separate from the wall.
5. Mold Spots
Even small black or green dots can indicate extensive hidden growth inside the wall cavity.
6. Sudden Spike in Water Bills
If you’re using the same amount of water but your bill increases sharply, it might be due to a concealed plumbing leak.
7. Cold or Damp Patches
Touch the wall — if it feels cooler than the rest of the surface, moisture might be trapped underneath.
Step 2: Locating the Source of the Leak
Before any repair can begin, you must find where the water is coming from. Common sources include:
Leaking plumbing lines behind walls or under sinks.
Cracked roof flashing or shingles.
Faulty window or door seals.
Overflowing gutters or downspouts pushing water into siding.
Condensation from air conditioning or ductwork.
If you can’t pinpoint the source visually,Leak Proof Restorationusesthermal imaging camerasandmoisture metersto locate the exact area of intrusion without tearing open walls unnecessarily.
Step 3: Stopping the Leak
Once identified, turn off the nearest water supply valve or your home’s main shutoff valve to prevent further flooding.
If it’s a roof or gutter issue, cover the area temporarily with a tarp until a roofing professional can inspect.
For window leaks, apply waterproof caulk around seams and trim to stop external moisture.
Remember,repairing the sourcefirst prevents you from having to redo your restoration work later.
Step 4: Expose and Assess the Damage
Now that the leak is stopped, you’ll need toopen the affected areato check for moisture and mold.
Remove baseboards or trim in the suspected area.
Use a utility knife or drywall saw to cut a small inspection hole.
Check the backside of the drywall, the insulation, and the wall studs for wetness or mold.
If everything feels soggy or smells musty, it’s time to start the drying process immediately.
Step 5: Dry Out the Wall Safely
Drying is the most crucial stage. The goal is to remove all trapped moisture before rebuilding.
DIY Drying (Small Areas):
Open windows for ventilation.
Use fans and a portable dehumidifier to circulate air.
Run your HVAC system on “dry mode” if available.
Professional Drying (Large or Hidden Damage):
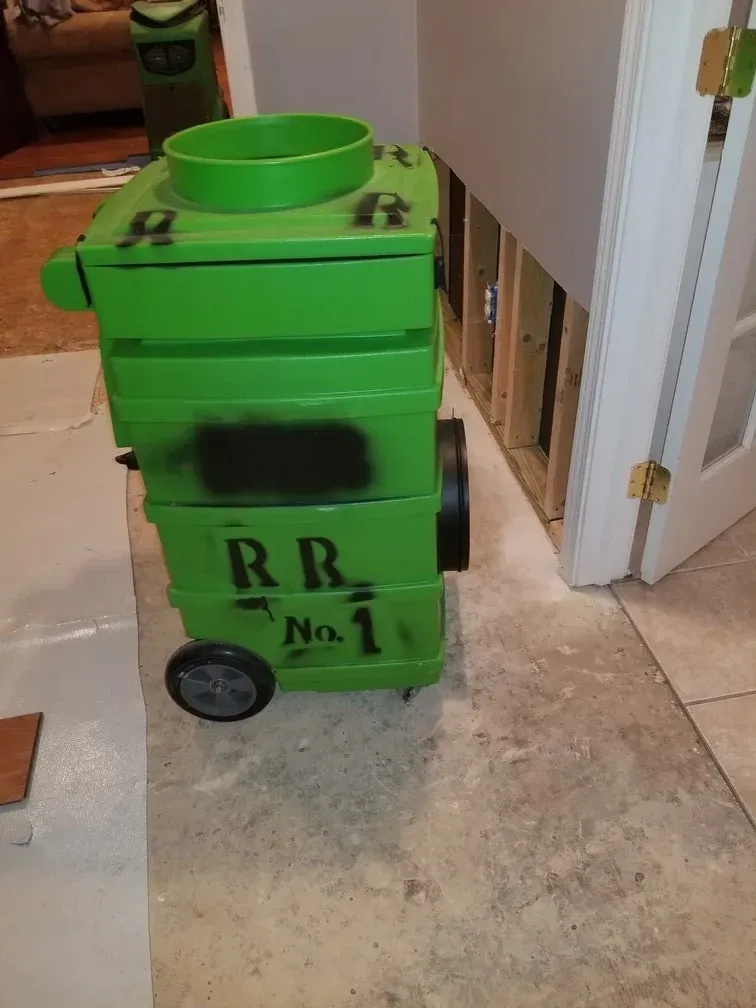
Leak Proof Restoration usesindustrial-grade air movers and dehumidifiersto extract moisture from deep within wall cavities. We also employmoisture mapping technologyto verify when materials are completely dry.
Skipping proper drying is one of the biggest mistakes homeowners make — even a small pocket of moisture left behind can cause mold to regrow.
Step 6: Remove and Replace Damaged Materials
Once the area is completely dry, inspect which materials are salvageable:
Drywall:Replace any section that’s soft, discolored, or warped.
Insulation:Wet insulation loses its effectiveness and must be replaced.
Wood Studs:Treat minor surface mold with antimicrobial cleaner. Replace severely damaged wood.
Flooring:If water seeped into baseboards or subflooring, check for rot and repair accordingly.
After removing damaged material, apply anantimicrobial sprayto all exposed surfaces to prevent future mold growth.
Step 7: Treat for Mold
If you detect even minimal mold growth, don’t ignore it — mold can spread through your entire home’s air system.
DIY Mold Removal (Small Spots Only):
Wear gloves, eye protection, and a respirator mask.
Use a 1:10 bleach-water solution or commercial mold remover.
Scrub surfaces and allow them to dry completely.
Professional Mold Remediation (Widespread Growth):
Leak Proof Restoration isIICRC-certifiedfor mold remediation. Our team isolates contaminated areas, uses HEPA filtration to remove spores, and safely disposes of affected materials without spreading contaminants.
Step 8: Rebuild and Refinish
Once the leak is fixed and the area is dry and sanitized, it’s time to restore your wall:
Cut and fit new drywall panels.
Tape and mud the seams.
Sand the surface smooth once dry.
Prime with astain-blocking sealerto prevent discoloration.
Repaint with moisture-resistant paint for added protection.
Your wall will look new — and stay protected from future leaks.
Step 9: Prevent Future Wall Water Damage
After restoration, take proactive steps to ensure it doesn’t happen again.
Inspect plumbing connections annually.
Seal windows and exterior sidingevery two years.
Clean guttersto prevent water backup into walls.
Insulate cold pipesto stop condensation drips.
Install a moisture alarmor smart leak detector for early warnings.
Schedule yearly moisture inspectionswith Leak Proof Restoration for preventive care.
When to Call a Professional
DIY repairs can help with small issues, but when water damage is widespread or you suspect mold, always call a licensed restoration expert.
You should contactLeak Proof Restorationif:
The drywall is soft or crumbling.
The area smells musty or moldy.
You see multiple stains across different walls or ceilings.
Electrical outlets may have been exposed to moisture.
You’re unsure of the water source or how long it’s been leaking.
Our technicians are trained to safely inspect, dry, and rebuild your walls while ensuring your home is structurally sound and mold-free.
Final Thoughts
Hidden wall water damage can be deceptive — a small leak can cause big problems if ignored. Acting fast is key to minimizing costs and keeping your home healthy.
If you suspect water damage behind your walls, don’t wait.Leak Proof Restorationis Georgia’s trusted restoration team, providing 24/7 emergency response, certified mold remediation, and structural drying services.
We’ll find the source, fix the damage, and restore your home to its original condition — safely and efficiently.
Need Professional Help Now?
📞Call Leak Proof Restoration 24/7for water damage inspection and repair in the Atlanta area.
💧 Fast response, certified restoration experts, and guaranteed results.